Table of Contents
At many times we need to deploy new technologies in production environments, or while learning and testing new technologies like automation of networks, SDN etc. we need real world environment simulations. Emulated virtual environments can be used to understand new technologies, prepare proof of concepts for the clients. Automating sandboxing unknown files/software is used to analyze short-term and long-term behaviour of malicious threat vectors.
Today we look more in detail about the Emulated Virtual Environment – Next Generation (EVE-NG) and how to set up Eve-ng in Google cloud environment.
About EVE-NG in Google Cloud
Eve-ng is meant for anyone who is working in the Information technology industry. The community version of eve-ng is free while the professional version is having some additional features at a cost.
Eve-ng is available in OVF or ISO file format. The Open Virtualization format (OVF) lets you perform installation of eve-ng as a virtual instance. It can also be installed directly on a physical box without a hypervisor using ISO image which is a bare metal install.
Step-by-Step set Up of EVE-NG in Google Cloud
To Setup Eve-ng on Google cloud follow the below steps:
Step 1: Connect to Google cloud platform URL – Getting started – Google Cloud console
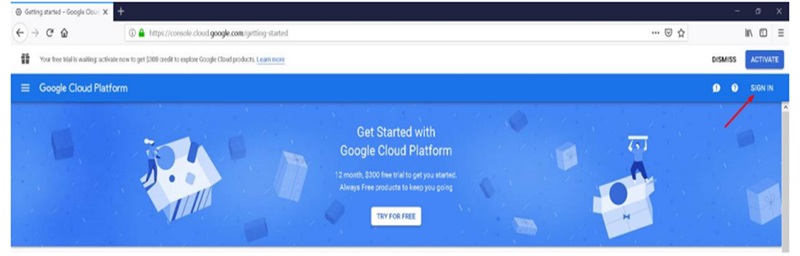
Login to GCP. Create a new GCP account if you have not one already
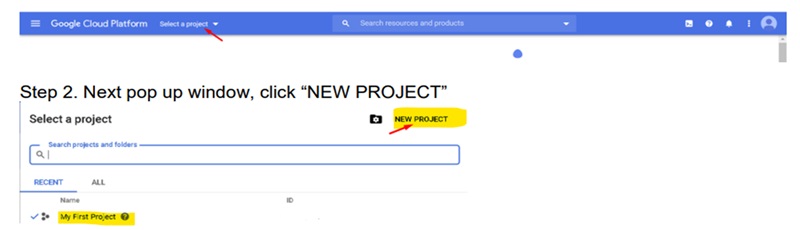
Step 2: Create a new project. By default, GCP provides project named as ‘My First Project’ you can use same or give name to your project like ‘Eve-test’
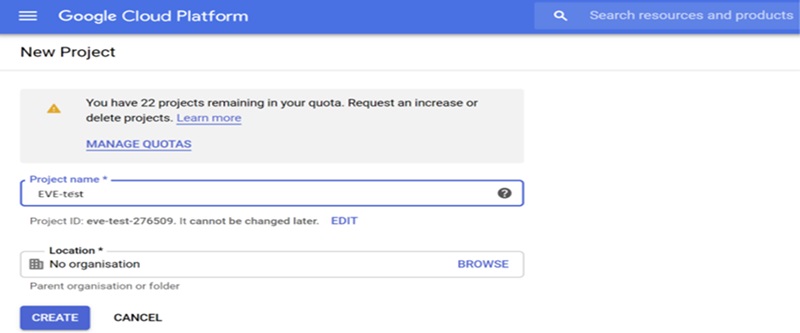
Step 3: Provide project name and click on ‘CREATE’
Steps to Prepare Ubuntu Boot Disk (template)
Now next step is to prepare Ubuntu boot disk (template)
Step 1: Open Google cloud shell and Press – Start cloud shell

Step 2: create nested Ubuntu 20.04 image model. Copy and paste below command in Google cloud shell.
gcloud compute images create nested-ubuntu-focal --source-imagefamily=ubuntu-2004-lts --source-image-project=ubuntu-os-cloud --licenses
https://www.googleapis.com/compute/v1/projects/vmoptions/global/licenses/enable-vmx
This command invokes gcloud compute resources and creates an Ubuntu image named nested-ubuntu using ubuntu-os-cloud source image (ver 20.04). The last part of command is for license activation.
Following output comes once image is ready
Welcome to cloud shell! Type “help” to get started
Your cloud platform project in this session is set to EVE-test-276509
Use “gcloud config set project (PROJECT_ID)” to change to other project
mypro@cloudshell:~(EVE-Test-276509)$
created:[https://www.googleapis.com/compute/v1/projects/EVE-test-276509/global/images/nested-ubuntu-focal]
NAME:nested-ubuntu-focal
FAMILY:
DEPRECATED:
STATUS:READY
mypro@cloudshell:~(EVE-Test-276509)$
Create a VM
Now next step is to create a VM
Step 1: Go to Menu/compute Engine/VM instances & types and click on ‘Create’
Step 2: Give name to VM
Step 3: Set region and zone
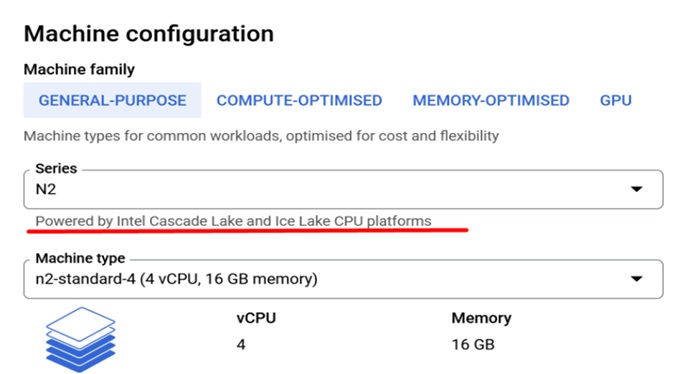
Step 4: Edit machine configuration. General-purpose. Choose the CPU platform series (Preferred : Intel CPUs Ice Lake or Cascade Lake)
Step 5: Select CPU and RAM settings
Please note ‘Deploy a container image box’ must be unchecked
For display device – check box to enable device
Step 6: Choose boot disk and click on change
Step 7: Choose custom image, select project (EVE-test) and the custom boot image which was created. Choose the HDD disk type and its size. HDD size will vary depending on the need.
Step 8: Allow ‘http’ traffic and create VM
Step 9: In Identify and API access choose ‘Allow default access’
Step 10: In firewall choose ‘Allow HTTPS traffic’
Step 11: Click on management, security, disks, networking , sole tenancy
Step 12: Click on networking
Step 13: Click on pencil
Choose internal and external IP settings. Using static external is convenient but it involves some cost.
- Primary internal IP = Ephemeral (Automatic)
- External IP = Ephemeral
- Network Service Tier = Standard
Step 14: Click done, click on create
This step completes the creation of the VM and after some time you will see VM details.
(Optional step)
Finishing Steps
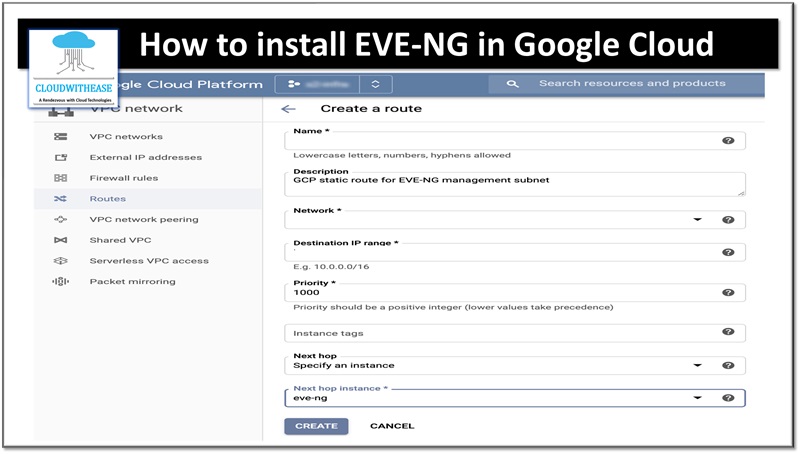
Step 1: Create a firewall rule to allow tcp:32000-65535 via your VPC
Goto Google cloud console -> Choose VPC network 🡪 Firewall rules
Name: EVE-Test
Type : ingress
Description: to allow eve-ng port
Filter: home-ip-address
Protocols/ports: tcp:32000-65535
Action: allow
Priority:1000
Network: Default
Step 2: Go back to compute engine> VM instances
Step 3: Click on SSH
Key exchange will happen and you will be connected.